
Live selection outcomes (Resident Evil 3: Nemesis)
This page lists all the possible Live Selections that you can encounter in the game. When you encounter one, the game will provide you two possible choices, but there are actually three choices, the choice to do nothing. Listed below are the outcomes of all these options, and the impact they have.
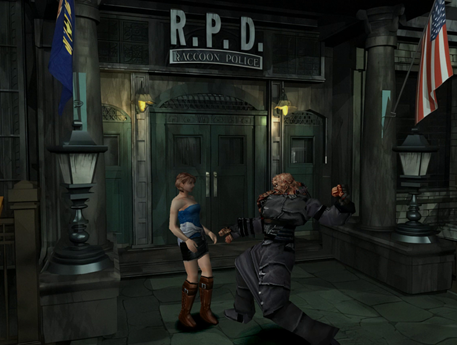
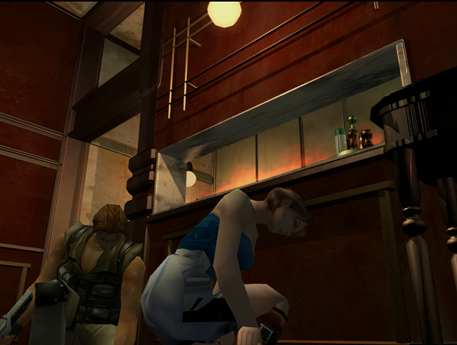
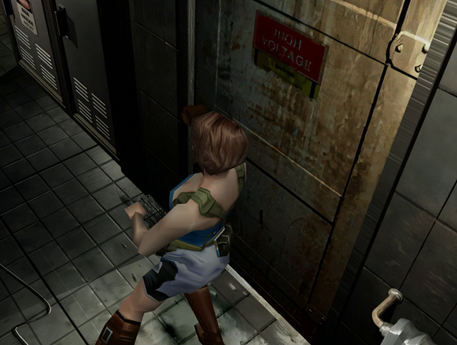
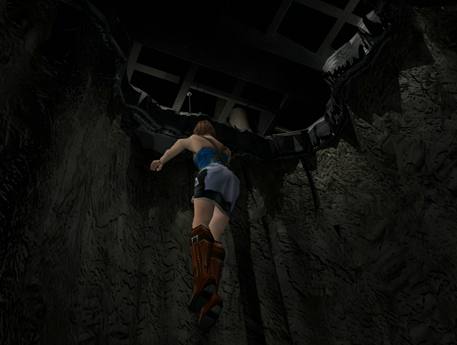
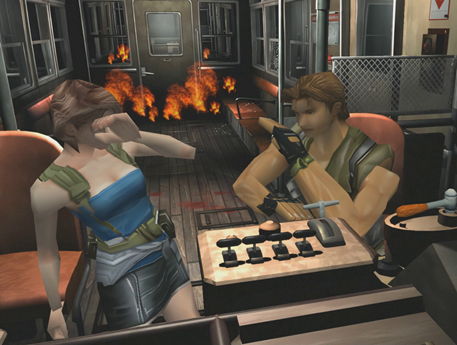
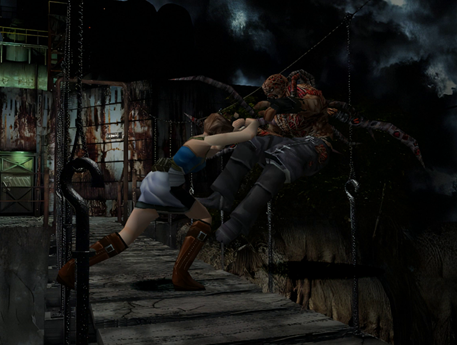
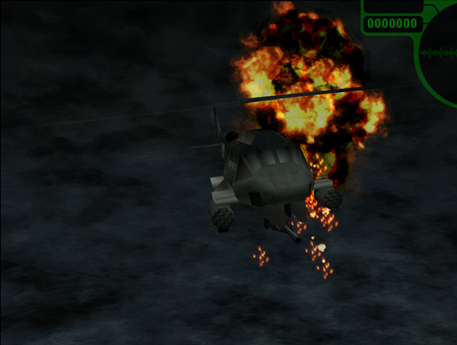
#1 - Police station courtyard
You face this Live Selection when you enter the R.P.D. courtyard for the very first time.
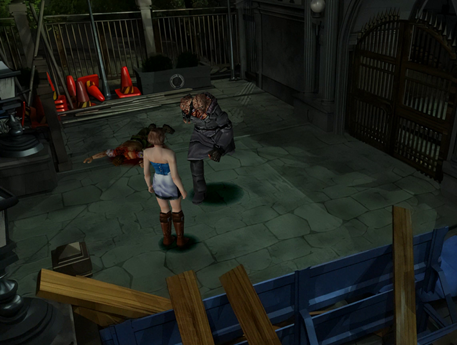
Fight with the monster
You will remain where you are and you have to battle Nemesis.
This action does give you the opportunity to pick up Brad's S.T.A.R.S card from his dead body, thereby negating the need to explore an unnecessary area of the police station to look for Jill's S.T.A.R.S. card. However, if you decide to enter the police station before you have knocked Nemesis into unconsciousness, then you will be unable to leave the police station until you have acquired the lockpick.
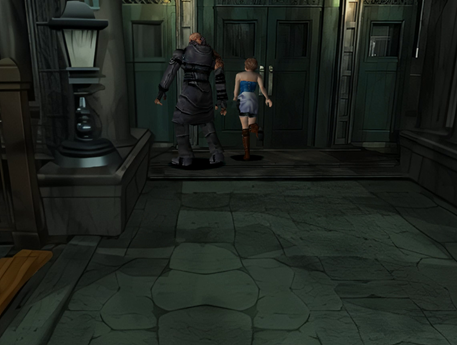
Enter the police station
You will run into the police station and close the door behind you. Nemesis will not follow you into the station, but he will bang on the main hall door.
This action means you will be unable to leave the police station until you have acquired the lockpick.
Do nothing
If you do not make a selection in time, Nemesis will attack.
This action plays out the same as the "Fight with the monster" choice.
#2 - Downtown restaurant
You face this Live Selection if you chose to explore the restaurant first instead of the press office. It will trigger just after meeting Carlos for the first time.
Run into the basement
You will dive into the basement with Carlos to escape Nemesis. However, a water pipe will burst and it will starting flooding the basement.
You can either escape through the ventilation hole or climb back up the ladder. Exiting through the ventilation will mean later on you encounter Nicholai at the gas station and Carlos at the sales office, but exiting any other way will mean the encounters will be the other way around. If you take too long to decide how to escape, you'll eventually automatically climb the ladder back into the restaurant.
Hide inside the kitchen
Jill and Carlos will hide behind the kitchen counter whilst Nemesis searches for them. Jill will then throw a small lamp that will ignite the nearby leaking gas bottle and destroy half the kitchen and temporarily knock Nemesis into unconsciousness.
This action means later on you encounter Carlos at the gas station and Nicholai at the sales office.

Do nothing
If you do not make a selection in time, Nemesis will charge at you and attack.
This action means later on you encounter Carlos at the gas station and Nicholai at the sales office.
#3 - Downtown press office
You face this Live Selection if you chose to explore the press office first instead of the restaurant. It will trigger just after meeting Carlos for the first time.
Jump out of the window
Jill decides the best course of action is for them to jump out of the window to escape Nemesis. Luckily you land on something soft and find yourself in the side alleyway.
This action means later on you encounter Nicholai at the gas station and Carlos at the sales office.
Hide in the back
Jill and Carlos will duck down to hide from Nemesis, but when he approaches a mysterious explosion goes off that temporarily knocks Nemesis into unconsciousness.
This action means later on you encounter Carlos at the gas station and Nicholai at the sales office.
Do nothing
If you do not make a selection in time, Nemesis will eventually enter the room and attack you.
This action means later on you encounter Carlos at the gas station and Nicholai at the sales office.
#4 - Downtown sub station
You face this Live Selection once you have opened at least one of the shutters inside the sub station, examined the item located inside, and turned to leave. You do not actually have pick up the item, simply examining it and then cancelling will trigger a crashing noise, and zombies will then appear at the gate.
Head to the emergency exit
You will head to the emergency exit, break the door open, and exit back into the area in front of the sub station.
This action will result in you encountering Nemesis outside, but only if you have not already acquired the oil additive. If you do encounter Nemesis here and you venture back into the sub station then you will find it overrun with all the zombies. If you do not encounter Nemesis here then the zombies will be split between the main sub station and the gate area.
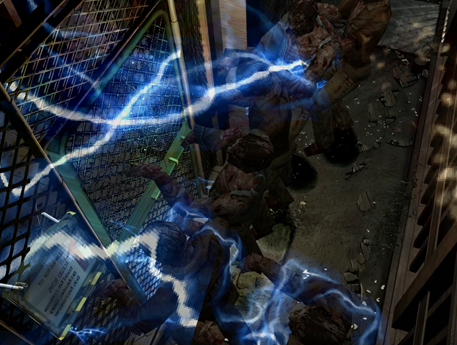
Increase electricity output
You will access the electricity control panel and massively increase the electrical current, causing it to surge throughout the metal fence surrounding the area. This results in all the zombies at the gate to get electrocuted and die.
This action will result in the voltage puzzle to unlock the shutters to have become scrambled. If you still need to open one of the shutters, the voltage that would have originally been required to unlock it will now have changed to something else.
This action will also result in no zombies being left alive to roam the sub station, and you will never encounter Nemesis outside the sub station with this choice.
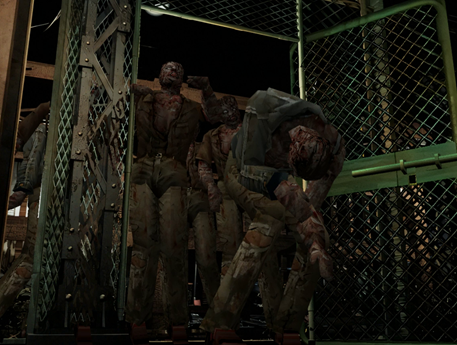
Do nothing
If you do not make a selection in time, four of the zombies in the horde will come crashing through the gate and you will have to face them. A remaining two zombies will be wandering around the gate area.
This action will result in you encountering Nemesis outside when you eventually decide to leave the sub station, but only if you have not already acquired the oil additive.
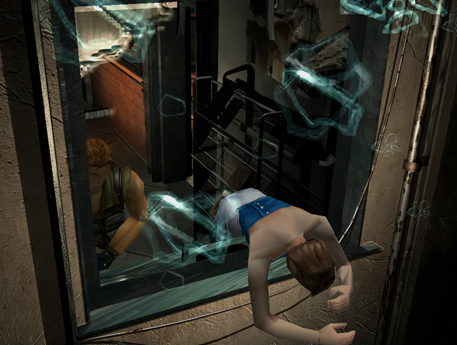
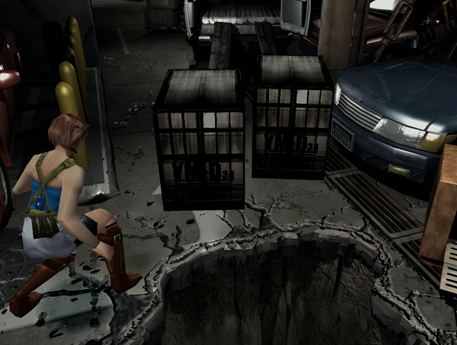
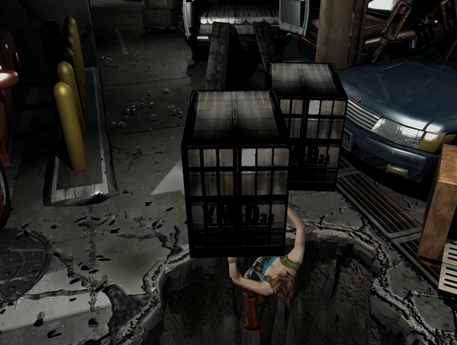
#5 - Downtown garage
You face this Live Selection once you have acquired the oil additive from the sales office and you are heading back through the parking garage. As you proceed through the garage and approach the parked van, the whole room will start shaking and the floor beneath you will crack open causing you to fall and grab hold of the side of the pit that has just appeared. As you attempt to climb out, the earthquake causes two very large and heavy trolleys to slide out of the nearby van and head directly towards you.
Climb up
You will climb up from the side of the hole and slide out of the path of the oncoming trolleys.
This action has no consequences, and will simply result in you being able to continue your journey back to the cable car.
Jump off
You will purposefully let go of the side of the hole you are clinging onto and fall into it, narrowingly avoiding the trolleys have follow after you.
This action will result in you having to navigate back to the surface whilst encountering a collection of sliding worms.
Do nothing
If you do not make a selection in time, the trolleys rolling from the van will hit you and knock you down into the hole.
This action will result in you receiving a small amount of health loss, as well as having to navigate back to the surface whilst encountering a collection of sliding worms.
#6 - Downtown cable car
You face this Live Selection after acquiring all the items needed to repair the cable car and you set off towards the clock tower. Immediately after Mikhail sacrifices himself to knock Nemesis off the rear carriage, you find that the explosion also disabled the brakes and the cable car accelerates uncontrollably towards its destination.
Jump out of the window
You will recklessly jump out of the window, leaving Carlos behind to suffer the unknown fate of the cable car. When you wake up you will find yourself inside the bedroom of the clock tower, surrounded by the flames of the crash and with no trace of Carlos.
This action will result in the following outcomes:
- You will find the winder key in the bedroom and the bezel key in the chapel.
- You will encounter Carlos inside the small library and he will give you freeze rounds, and there will be enemies inside the dining room.
- You will find that there is a 50% chance that zombie dogs will roam the courtyard instead of crows.
Use the emergency brake
You will attempt to stop the cable car using the emergency brakes, and Carlos will jump out of the window. The brakes have very little effect, and you wake up in the courtyard of the clock tower, surrounded by the flames of the crash and with no trace of Carlos.
This action will result in the following outcomes:
- You will find the winder key in the chapel and the bezel key in the bedroom.
- You will encounter Carlos empty-handed inside the dining room, and there will be enemies inside the small library.
- Only crows will roam the courtyard.
- Carlos will arrive before the fight with Nemesis in the courtyard and attempt to help.
Do nothing
If you do not make a selection in time, then you will remain in the cable car when it crashes.
This action plays out the same as the "Use the emergency brake" choice.
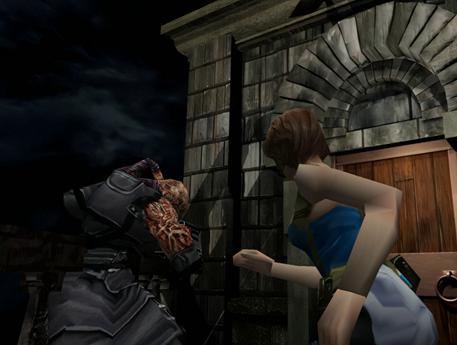
#7 - Clock tower balcony
You face this Live Selection after exploring the east side of the clock tower balcony and you turn to exit through the door. Nemesis will suddenly appear and threateningly walk towards you.
Use the light
You will run to a switch on the wall and activate the spotlight positioned on the balcony. This has the fortuitous effect of directing its light directly into Nemesis's face, causing him to stumble around temporarily blinded. You will then take this opportunity to push him off the balcony.
This action will result in you not having to fight Nemesis, and he won't show up again until you've acquired and used the chronos gear.
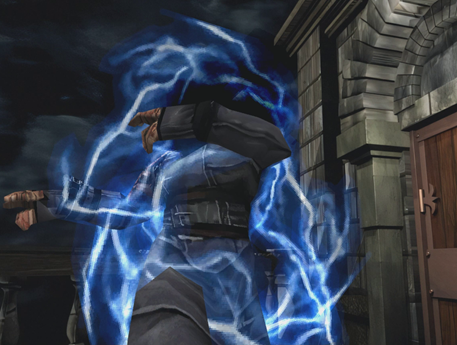
Use the cord
You will run to the nearby spotlight and unplug the electrical cord from it. You will then throw this cord at Nemesis' feet, just as he happens to be walking through a puddle of water. This has the desired effect of electrocuting him, knocking him into unconsciousness.
This action will result in Nemesis being downed temporarily, but it won't take long for him to get back up. If you leave the balcony via the doorway there is a good chance you will meet him again inside the small library.
Do nothing
If you do not make a selection in time, then Nemesis will continue advancing on your position.
This action will result in you having no choice but to either fight Nemesis or run from him.
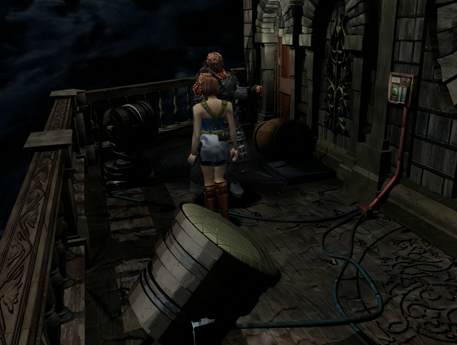
#8 - Park exit walkway
You face this Live Selection when you are finally ready to leave the Raccoon City park and you're on the bridge heading towards the dead factory. Nemesis will make his presence known by whipping his tentacles through the underside of the wooden bridge, partially destroying it before leaping up and blocking your way.
Push him off
Nemesis will attempt to swipe you off the bridge with his tentacles, but you successfully dodge this attack and push Nemesis off the bridge instead into the water below. You then run into the dead factory.
This action will result in the following outcomes:
- You enter the dead factory on its 2F, thereby needing the facility key to gain access to the control room and the lower level.
- You will encounter Carlos in the resting room, and Nicholai in the water treatment room entry.
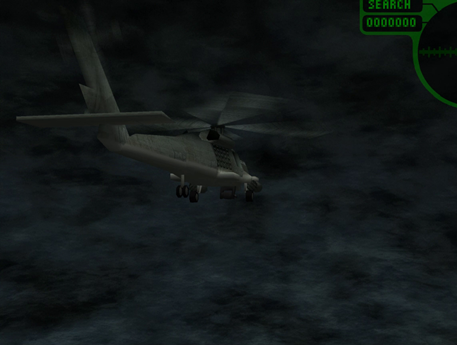
- Carlos will find a helicopter in the landing zone outside the factory and fly you to safety.
Jump off
Nemesis will attempt to swipe you with his tentacles, but you successfully dodge this attack before deciding to jump off the bridge anyways into the water below. You then climb out of the water and find yourself outside the dead factory facing a small access passage.
This action will result in the following outcomes:
- You enter the dead factory on its 1F, thereby not needing the facility key to gain access to the upper level.
- You will encounter Carlos in the water filter passage, and Nicholai in the communications tower.
- There will be no helicopter in the landing zone outside the factory, but a surprise second chopper will appear to fly you to safety.
Do nothing
If you do not make a selection in time, Nemesis will swipe at you with his tentacles and knock you off the bridge into the water below. You then climb out of the water and find yourself outside the dead factory facing a small access passage.
This action will result in you receiving a small amount of health loss, and events will play out the same as the "Jump off" option.
#9 - Dead factory communications tower
You face this Live Selection if you did not push Nemesis off the bridge outside the dead factory. It triggers upon entering the communications tower for the first time, Nicholai will appear in a gunship helicopter outside the tower and start shooting through the windows.
Negotiate with Nicholai
You will attempt to talk things out with Nicholai. You manage to stall his attack long enough to prompt the arrival of the missile on the radar, at which point Nicholai will turn and fly away.
This action is the safest option, as the cut-scene will end and you can continue with finishing the game. Once Nicholai has flown away Carlos will enter the room and ask what just happened, and you have to deliver the solemn news that the only available helicopter that they could have used to escape is now gone. But Carlos seems optimistic about their chances, and sets to work using the communication desk to find someone who can help.
Return fire to the chopper
You get the opportunity to fight back against the chopper, using whatever arsenal you have at your disposal. Nicholai will have run out of bullets, so instead he will start firing rockets at you.
This action will result in you potentially receiving damage from the helicopter as you attempt to blow it out of the sky. If you attempt to leave the room via the door, then Nicholai will cease fire and fly away as per the "Negotiate with Nicholai" option. If you stay and fight, eventually you will destroy the helicopter resulting in both it and its pilot crashing and burning onto the ground below. Afterwards Carlos will enter the room and ask what just happened, and you have to deliver the solemn news that the only available helicopter that they could have used to escape is now gone. But Carlos seems optimistic about their chances, and sets to work using the communication desk to find someone who can help.
Do nothing
If you do not make a selection in time, then you will wait for Nicholai to run out of bullets before slowly standing up. At that exact moment, Nicholai will launch a rocket directly at you, and you have milliseconds to dodge this attack.
At this point this action will play out the same as the "Return fire to the chopper" option.
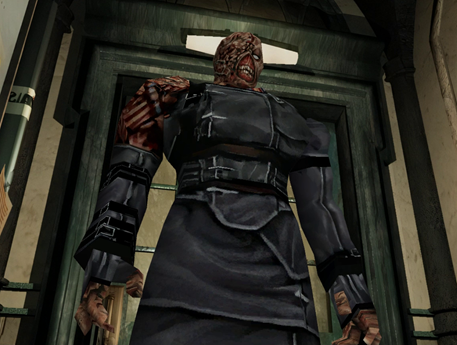
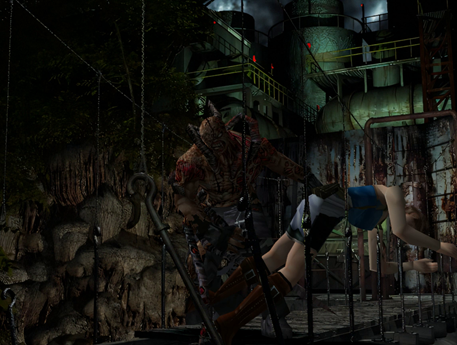
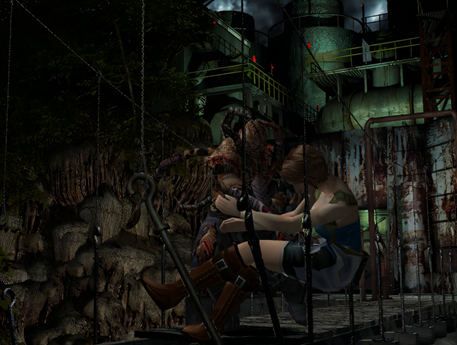
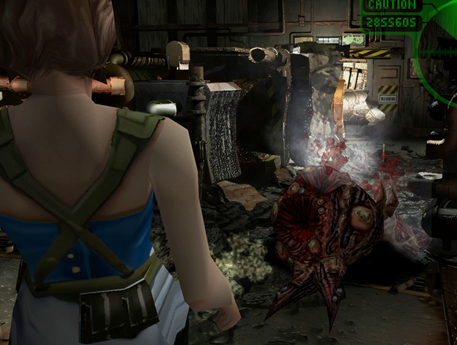
#10 - Dead factory final battle
You face this Live Selection after using the rail cannon to destroy Nemesis. It triggers the moment you attempt to leave the rail cannon room, it turns out part of Nemesis is still alive and it relentlessly shuffles towards you in an attempt to complete its mission.
Exterminate the monster
Nemesis will spit its acidic venom towards you but you will expertly dodge it. Upon doing so, you will happen upon a fully-loaded magnum on the floor and proceed to empty the entire weapon into the creature, killing it once and for all.
This action will result in you gaining satisfaction in finally defeating Nemesis. But be mindful that the missile countdown clock will still be ticking. Once you regain control there is nothing left to do except leave the room and continue your escape.
Ignore it and evacuate
You will turn and exit the room, and leave Nemesis to receive same fate as the rest of Raccoon City.
This action will result in you navigating to the exit elevator so you can make your escape. This choice is preferable if the time remaining before the missile arrives is imminent.
Do nothing
If you do not make a selection in time, Nemesis will continue its advance and successfully spit its acidic venom onto you. Then Nemesis will writhe and squirm and finally die.
This action will result in the venom poisoning your body. There is nothing left to do except leave the room and continue your escape.
