
Cord and shutter outcomes (Resident Evil 2)
The following guide details how using the Cord affects the gameplay across both A and B Scenarios.
Introduction
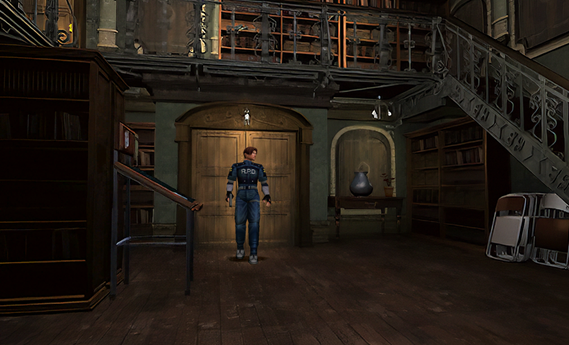
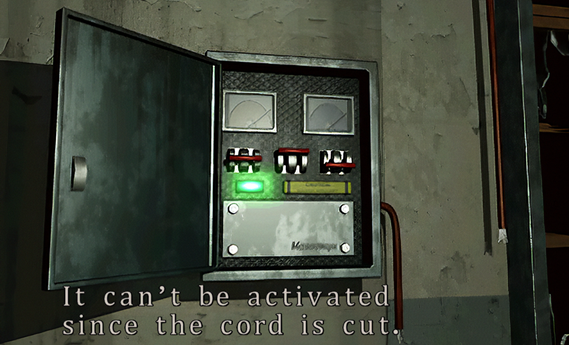
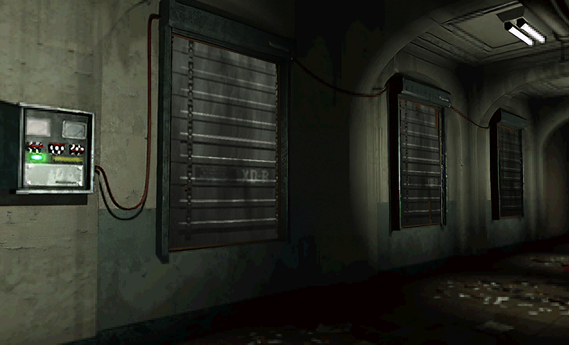
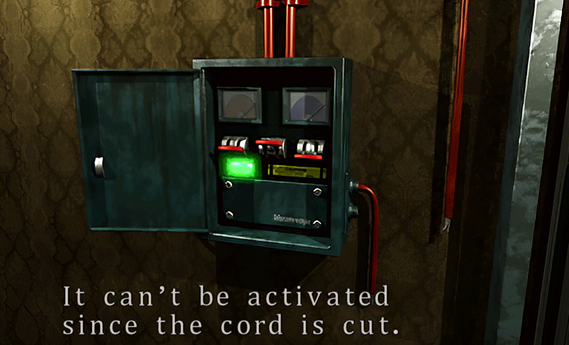
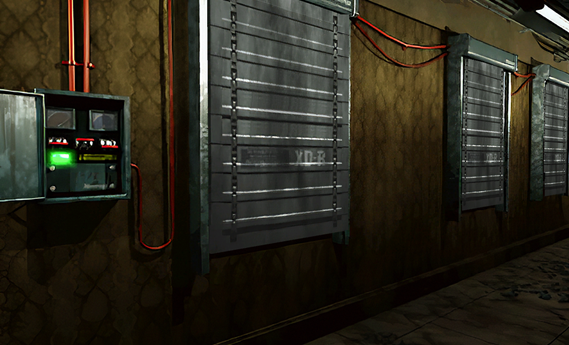
The Cord is an item you acquire in Scenario A, and it is used to fix and activate security shutters within the police station. There are two sets of shutters, one in the 'L' Corridor and another in the Watchman's Corridor. By closing the shutters you can prevent zombies from entering the station during a specific event whilst playing the game (which is detailed further on), however, there is only one Cord available in the game and therefore you need to choose which shutters you decide to activate.
Spawning event
During the course of the game, there is an event that occurs in both scenarios that causes additional zombies to spawn in the police station. This spawning is always triggered by entering and exploring the Library at a key point in the game. In Scenario A this is when you explore the Library for the first time after you have acquired the Club Key, and in Scenario B it is as soon as you explore the Library for the first time after gaining access to it by using the Blue Card Key.
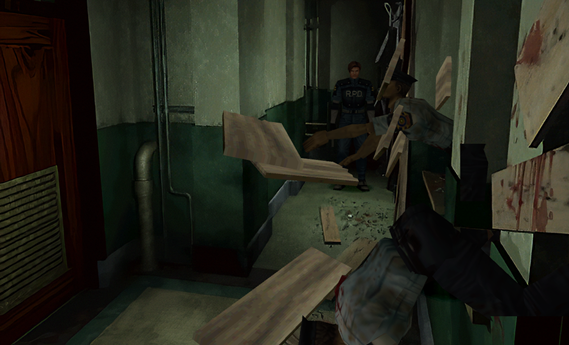
Key locations for zombie spawning are: 'L' Corridor, Winding Corridor, West Stairway 1F, East Office, Watchman's Corridor, Basement Entrance.
The following outcomes play out depending on where you used the Cord (if at all) and at what point you decide to explore the Library to trigger the event.
Scenario A
It is relatively easy to describe how the Cord affects the events in Scenario A.
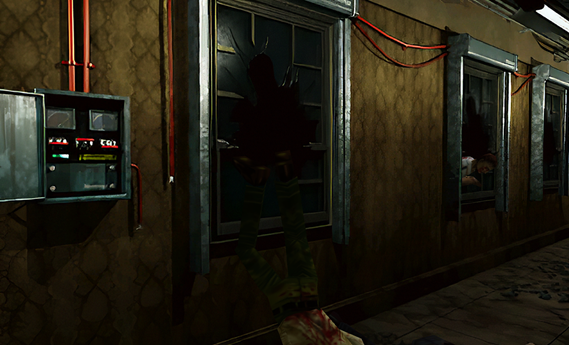
As soon as you enter the Library after acquiring the Club Key, a cut-scene will trigger that will show zombies breaking through the windows in the 'L' Corridor and the Watchman's Corridor. It is possible to prevent the zombies in one of these locations from spawning by using the Cord.
- If the Cord was used in the 'L' Corridor or the Cord was not used at all:
- The Watchman's Corridor will spawn 5 zombies
- If the Cord was used in the Watchman's Corridor or the Cord was not used at all:
- The 'L' Corridor will spawn 6 zombies.
It is possible to avoid the zombies completely when playing as either character, regardless of whether you've closed a shutter or not. Since the trigger is exploring the Library, just ensure this is the last location where you need to acquire the necessary plug/stone to escape the Police Station. Since Leon can use the dust chute in the Cog Room to reach the basement and sewers, and Claire just needs to go via the Main Hall 2F back to Chief Irons' office, there's no need to visit the locations where the zombies spawn.
However, keep reading, as where you use (or don't use) the Cord in Scenario A has ramifications as to what happens in Scenario B.
Scenario B
The outcomes of using (or not using) the Cord in Scenario A is more complicated in Scenario B.
By default, if you visit the following locations before exploring the Library, the following enemies are here:
- The 'L' Corridor has no zombies.
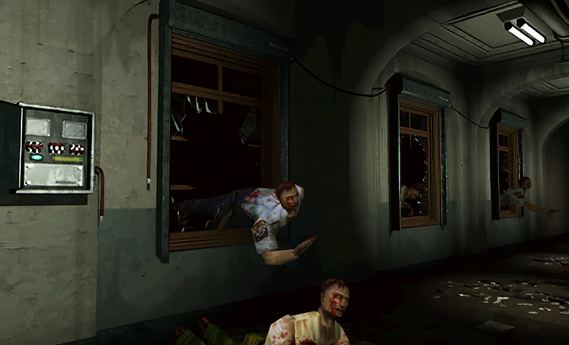
- The Winding Corridor has 2 zombies, they burst through the wooden boards when entering this corridor from the 'L' Corridor.
- The West Stairway 1F has no zombies.
- The East Office has 5 zombies.
- The Watchman's Corridor has 1 zombie dog.
- The Basement Entrance has no zombies.
As detailed further up, the curious thing about using the Cord in Scenario A is it will stop zombies entering the corridor you use it on in that scenario. But in Scenario B, upon exploring the Library for the first time, whichever corridor the Cord was used in will then short-circuit and let zombies in, but the corridor where the Cord wasn't used will remain unaffected. The caveat to this rule is if the Cord wasn't used at all, then both locations will get flooded with zombies upon exploring the Library.
The following outcomes can happen when you explore the Library for the first time, depending on whether you have acquired the Club Key or not.
- If the Cord was used in the 'L' Corridor or if the Cord was not used at all:
- The 'L' Corridor will spawn 6 zombies
- The Winding Corridor will spawn 4 zombies
- The 2 default zombies that crash through the barricades will never appear.
- West Stairway 1F will spawn 5 zombies
- If the Cord was used in the Watchman's Corridor or if the Cord was not used at all:
- The Watchman's Corridor will spawn 5 zombies
- The East Office will spawn 4 zombies
- The Basement Entrance will spawn 5 zombies
- The zombie dog that is lurking in the Watchman's Corridor will disappear, regardless of which windows the zombies breach through.
Then immediately after acquiring the Club Key:
- If the Cord was used in the 'L' Corridor or if the Cord was not used at all:
- The 'L' Corridor will spawn 3 zombies
- The Winding Corridor will spawn 1 zombie
- The West Stairway 1F will spawn 2 zombies
- If the Cord was used in the Watchman's Corridor or if the Cord was not used at all:
- The Watchman's Corridor will spawn 5 zombies
- The Basement Entrance will spawn 2 zombies
- If the Cord was used in the 'L' Corridor or if the Cord was not used at all:
- The 'L' Corridor will spawn 3 zombies
- The Winding Corridor will spawn 1 zombie
- The West Stairway 1F will spawn 2 zombies
- If the Cord was used in the Watchman's Corridor or if the Cord was not used at all:
- The Watchman's Corridor will spawn 5 zombies
- The East Office will spawn 4 zombies
- The Basement Entrance will spawn 2 zombies
Again, as per Scenario A, it is possible to avoid the zombies that enter the station completely when playing as either character, regardless of whether you closed the shutters or not. As stated above, the trigger is exploring the Library, so just ensure this is the last location where you need to acquire the necessary plug/stone to escape the police station. This means avoiding the Library completely until you have successfully acquired both the Crank and the Gold Cogwheel. Since Leon can use the dust chute in the Cog Room to reach the basement and sewers, and Claire just needs to go via the Main Hall 2F back to Chief Irons' office, there's no need to visit the locations where the zombies spawn.
