Rebecca's Inventory
EasyHandgun Ammo (1×30) - Inside her inventory when you start the game.


Holds 9x19 parabellum rounds for use with handguns.
| Category | Weaponry (Ammunition) |
|---|
 | Resident Evil Book 5 - NemesisBuy the Resident Evil Book 5 - Nemesis by S.D. Perry on Amazon |
|---|
| Game mode | Occurrences | Sum total |
|---|---|---|
| Easy | 45 | 950 |
| Normal | 33 | 635 |
| Hard | 25 | 545 |


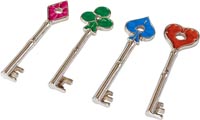 | Resident Evil 2 Keys Collection SetBuy the Resident Evil 2 Keys Collection Set on Amazon |
|---|