Evil Resource

Blood Pack (Resident Evil Outbreak)

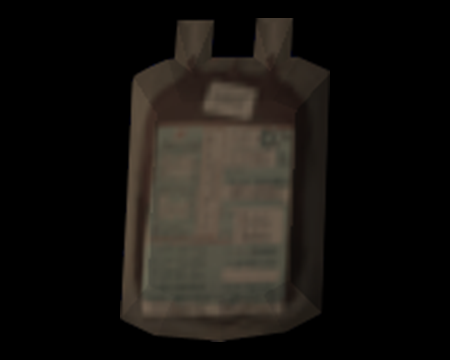
Image of Blood Pack

It contains blood for a transfusion.

A plastic pouch containing blood. Traditionally used for performing a blood transfusion. Available within "The Hive" scenario.

These packs can be used to distract, or even lure, the Leech Man away from you thanks to its thirst for blood. Spill one of these packs on the ground using the "Place" command, and the Leech Man will completely ignore you and all of your partners and move to the blood spill.

Using this tactic allows you to eventually kill in the Leech Man in the Fixed Temperature Laboratory. To do so, place one of these packs in the main laboratory area of this room and wait until the Leech Man starts consuming it. Once there, move to the control panel and raise the temperature of the room. This will kill the Leech Man.
CategoryKey item (The Hive)

Related product

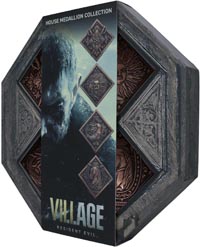
Resident Evil Village Replica House Crest Medallion Set

Resident Evil Village Replica House Crest Medallion Set

Buy the Resident Evil Village Replica House Crest Medallion Set on Amazon

Location

  • Image of Nurses' Center - Hospital 3F

    Nurses' Center - Hospital 3F

    Easy
    2 Blood Packs - Inside the blood temperature regulation machine on the west wall on the south side of the barricaded section of the room. Only accessible after triggering the cut-scene where the elevator power gets restored, after which the barricade becomes passable.
    View location | Show on map
  • Image of Nurses' Center - Hospital 3F

    Nurses' Center - Hospital 3F

    Normal
    2 Blood Packs - Inside the blood temperature regulation machine on the west wall on the south side of the barricaded section of the room. Only accessible after triggering the cut-scene where the elevator power gets restored, after which the barricade becomes passable.
    View location | Show on map
  • Image of Nurses' Center - Hospital 3F

    Nurses' Center - Hospital 3F

    Hard
    2 Blood Packs - Inside the blood temperature regulation machine on the west wall on the south side of the barricaded section of the room. Only accessible after triggering the cut-scene where the elevator power gets restored, after which the barricade becomes passable.
    View location | Show on map
  • Image of Nurses' Center - Hospital 3F

    Nurses' Center - Hospital 3F

    Very Hard
    2 Blood Packs - Inside the blood temperature regulation machine on the west wall on the south side of the barricaded section of the room. Only accessible after triggering the cut-scene where the elevator power gets restored, after which the barricade becomes passable.
    View location | Show on map
  • Image of Nurses' Station - Hospital 2F

    Nurses' Station - Hospital 2F

    Easy
    3 Blood Packs - Inside the blood temperature regulation machine in the south west of the room.
    View location | Show on map
  • Image of Nurses' Station - Hospital 2F

    Nurses' Station - Hospital 2F

    Normal
    3 Blood Packs - Inside the blood temperature regulation machine in the south west of the room.
    View location | Show on map
  • Image of Nurses' Station - Hospital 2F

    Nurses' Station - Hospital 2F

    Very Hard
    3 Blood Packs - Inside the blood temperature regulation machine in the south west of the room.
    View location | Show on map
  • Image of Nurses' Station - Hospital 2F

    Nurses' Station - Hospital 2F

    Hard
    1 Blood Pack - Inside the blood temperature regulation machine in the south west of the room.
    View location | Show on map
  • Image of Laboratory - Hospital B2F

    Laboratory - Hospital B2F

    Normal
    1 Blood Pack - Inside the blood temperature regulation machine next to the south door.
    View location | Show on map

There are no locations to show for this game mode. The following game modes are applicable:

Related product

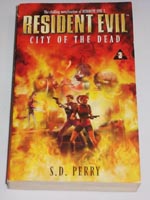
Resident Evil Book 3 - City of the Dead

Resident Evil Book 3 - City of the Dead

Buy the Resident Evil Book 3 - City of the Dead by S.D. Perry on Amazon

Explore further